Practical, affordable steps every California homeowner can take to reduce wildfire risk before fire season hits — from simple yard work to professional spray protection.
Published: November 3, 2025
Updated: November 3, 2025
Reading time: ~11 minutes
Expert Review: Ryan Kresan, Wildfire Defense Specialist (USMC Veteran)
Author: Jim Sprouse, Co-Founder & CEO, Ember Pro — Environmental Science (Allegheny College)
The short answer
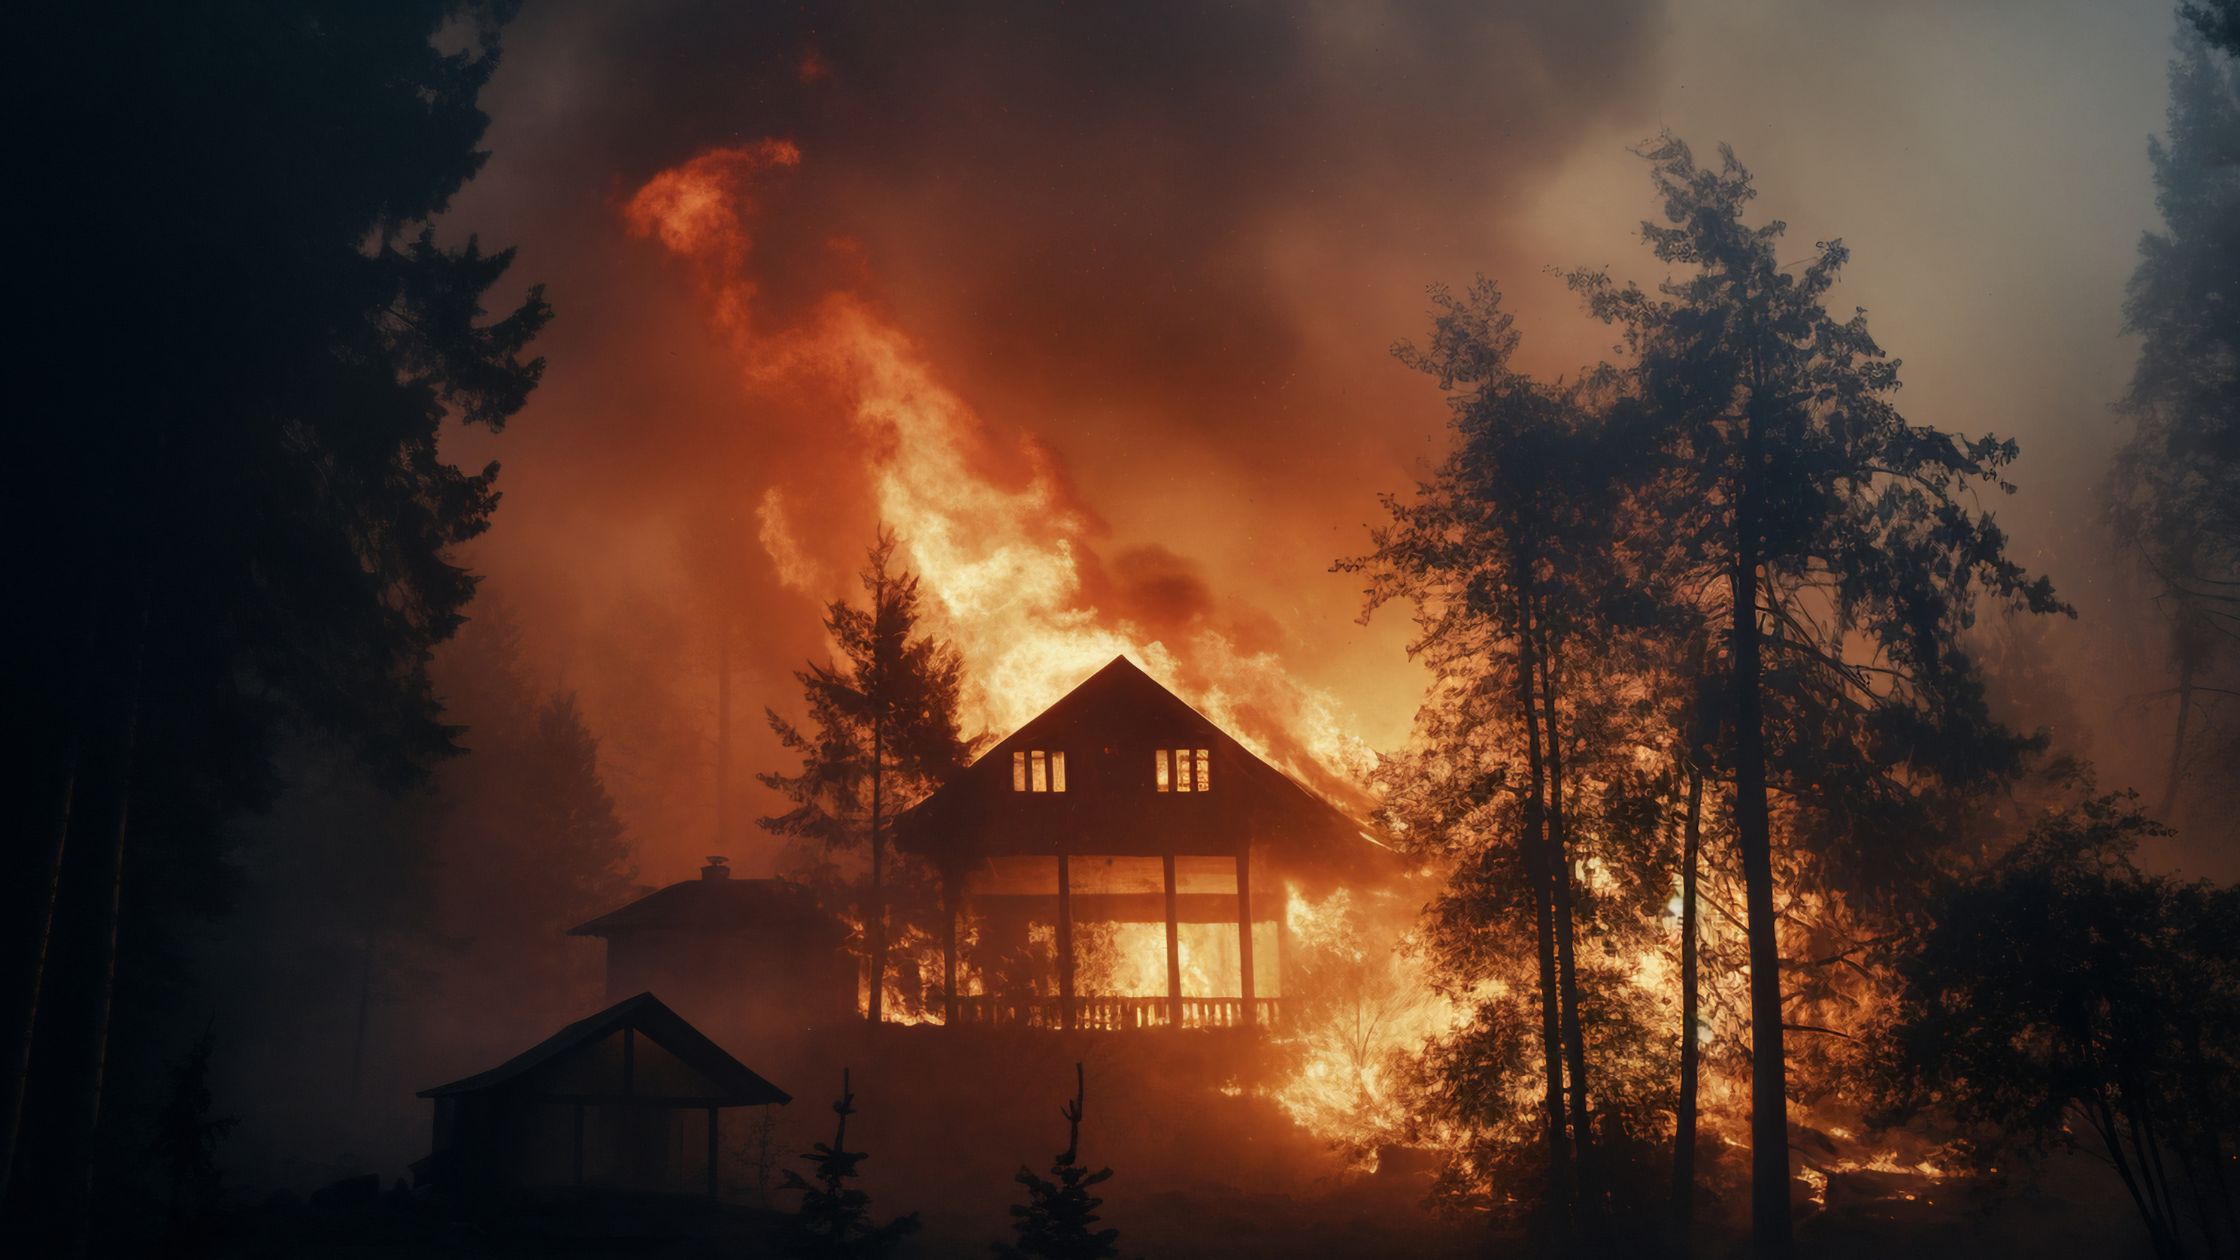
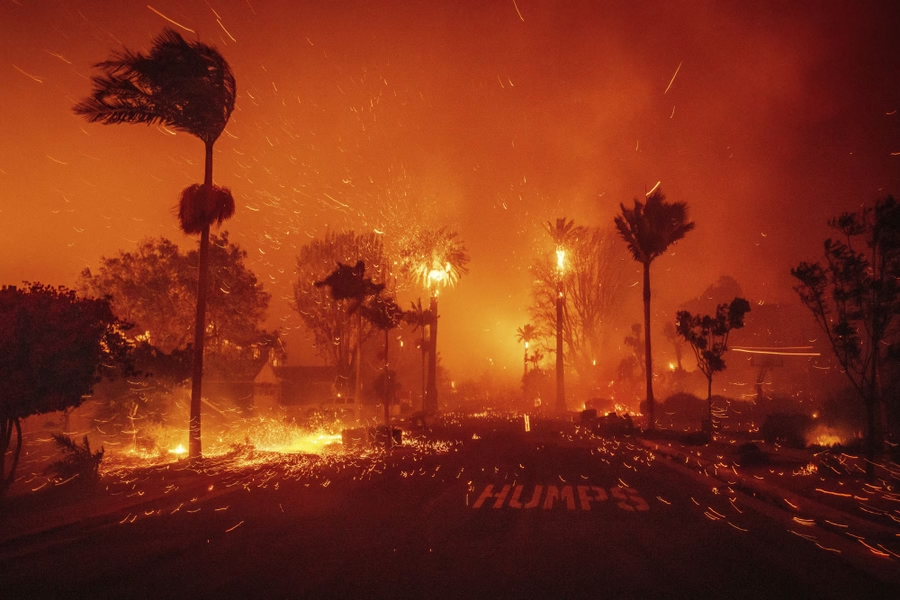
California’s wildfire risk doesn’t stop in summer anymore. Year-round heat, wind, and drought mean fire season is constant. But you don’t need to spend six figures to make a difference.
Small, smart steps — and a little consistency — can drastically lower ignition risk.
For most homeowners, a layered seasonal plan is the sweet spot: basic upkeep, affordable hardening upgrades, and an annual spray service to coat fine fuels with an environmentally safe, long-term fire inhibitor.
Why seasonal prep matters
Wildfire is now a statewide issue — from Redding to San Diego.
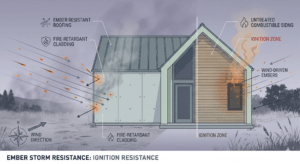
The biggest threat to homes isn’t a wall of flame; it’s wind-blown embers that land in gutters, mulch, or vents.
That’s why seasonal preparation is critical. By clearing, coating, and maintaining defensible space before the first red-flag warning, you drastically cut the chance of ignition — and improve your odds of staying insured.
Insurers increasingly ask for mitigation proof: photos of clear zones, annual service logs, and evidence of proactive protection.
Affordable fire protection actions (under $500)
Even on a tight budget, there’s a lot you can do to harden your home and prepare for fire weather.
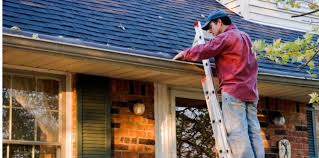
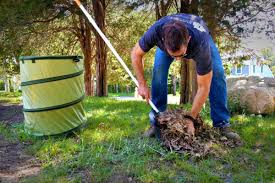
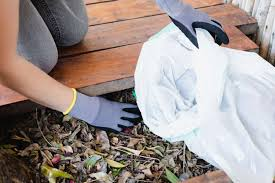
- Clean roofs, gutters, and decks. Remove pine needles, leaves, and debris at least twice a year.
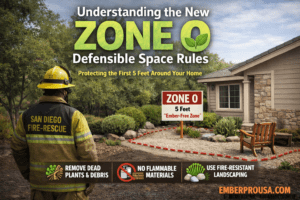
- Trim vegetation in Zone 0–1. Keep 5 feet bare around your home’s perimeter and 30 feet thinned.
- Replace mulch with gravel or stone. Combustible mulch can act like kindling.
- Screen attic and foundation vents. Use 1/8-inch ember-resistant metal screens to block embers.
- Store combustibles smartly. Move firewood, propane, and trash bins 30 feet from the home.
- Seal gaps and cracks. Check where decks meet siding and where utilities enter.
- Document everything. Take photos after clean-ups — it matters to underwriters later.
These actions cost little or nothing but have the highest impact on reducing structure ignition probability.
Mid-range upgrades ($500–$5,000)
When you’re ready to invest a little more, focus on materials and small infrastructure changes that hold up under ember exposure.
- Deck upgrades. Replace wood boards with ignition-resistant composite or Class A decking.
- Fencing. Swap wood for non-combustible sections near the home (metal or concrete).
- Roof vents. Install ember-resistant baffled vents or upgrade soffits with metal screening.
- Eave repair. Close open eaves and seal attic gaps.
- Exterior hose bibs. Add outlets or sprinklers on fire-facing sides for quick suppression.
- Gravel perimeter paths. Double as defensible space and a moisture break.
Each of these adds small, lasting risk reduction and can support insurance credits if you document completion.
Seasonal spray protection (the professional step)
The most efficient professional upgrade you can make — and one that still fits most budgets — is a seasonal spray service.
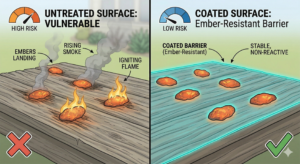
Ember Pro’s Seasonal Spray Service applies a long-term fire inhibitor to fine fuels and vulnerable edges before peak season. The coating prevents ignition on contact from embers, radiant heat, or small flames.
Why it works
- Safe and effective. We only use environmentally friendly, non-toxic inhibitors that are safe for plants, pets, and waterways.
- Long-lasting. Once dry, protection lasts through the season until washed off by heavy rain or degraded by UV.
- Precise application. We map your property and apply only where risk is real — not over-spraying everything in sight.
- Documented for insurance. Every service includes photos, a coverage map, and product SDS for your insurance file.
Cost range
Pricing varies by property size and terrain, but most single-family homes fall between $0.25–$0.45 per square foot for full coverage.
For many homeowners, it’s the ideal bridge between DIY prep and a permanent Wildfire Defense System.
Maintenance & timing
Seasonal work pays off when you stick to a simple schedule:
- Early spring: clear vegetation and clean gutters.
- Late spring: schedule spray services before the first red-flag days.
- After major rain: reinspect and touch up coverage on fine fuels.
- Fall: review defensible space and clear again before Santa Ana or Diablo winds.
Keep your records — photos, service receipts, and before/after comparisons — in one digital file. It shows insurers you’re serious about mitigation.
When to consider permanent systems later
If you live in a higher-risk zone or have a forever home in the wildland-urban interface, a Wildfire Defense (WFD) System is the next layer.
These systems are construction-grade, off-grid capable, and let you deploy an eco-safe inhibitor in seconds — before embers arrive.
Start with seasonal spray services and affordable hardening. As your budget allows, layer in a permanent system. The important thing is starting now, not waiting until the next fire.
FAQs
Is seasonal spraying safe for my plants and pets?
Yes. We only use non-toxic, biodegradable inhibitors that are safe around landscaping, pets, and wildlife when applied correctly.
How long does one spray last?
Typically through the dry season — around 3 to 6 months depending on rainfall, UV exposure, and site conditions.
When’s the best time to schedule spray services?
Spring and early summer, before fire conditions peak. We also offer reapplications after major storms if needed.
Do I need a permanent system if I use spray?
Not necessarily. Spray provides strong seasonal protection, especially for rental or secondary properties. Permanent systems add structural defense for long-term homes.
Can I apply inhibitor myself?
You can, but professional application ensures even coverage, correct dilution, and documentation for insurance purposes.
What happens if my spray wears off mid-season?
We can re-evaluate and refresh targeted areas. Most customers find one well-timed application lasts through the main burn window.
Does it change how my landscaping looks?
No — the coating dries clear and invisible.
Can spray help me with insurance?
Yes. Documented spray services, especially when combined with defensible space photos, can strengthen your mitigation file for underwriting review.
What’s the cost of skipping mitigation entirely?
Beyond the risk of loss, unmitigated homes are often the hardest to insure — and premiums can be 20–50% higher when coverage is even available.
Get ahead of fire season. We’ll walk your property, document exposures, and apply a long-term, eco-safe inhibitor before conditions spike.
Prefer to talk first? Contact Ember Pro for a free mitigation consult and property review.
📞 (858) 333-4106 • ✉️ hello@emberprousa.com • emberprousa.com
References
California Department of Forestry and Fire Protection (CAL FIRE): Defensible Space Guidelines.
Insurance Institute for Business & Home Safety (IBHS): Wildfire Prepared Home Standards.
University of California Cooperative Extension: Home Hardening and Fire Safe Landscaping.
Industry data on environmentally safe fire inhibitors and long-term retardants.
Related articles
Cost of Installing a Wildfire Defense System in California
Spray Services 101: Season-Long Protection Without Soaking Everything
ROI of Wildfire Mitigation: Costs vs. Expected Loss Avoidance