

By Jim Sprouse, Co-founder of Ember Pro
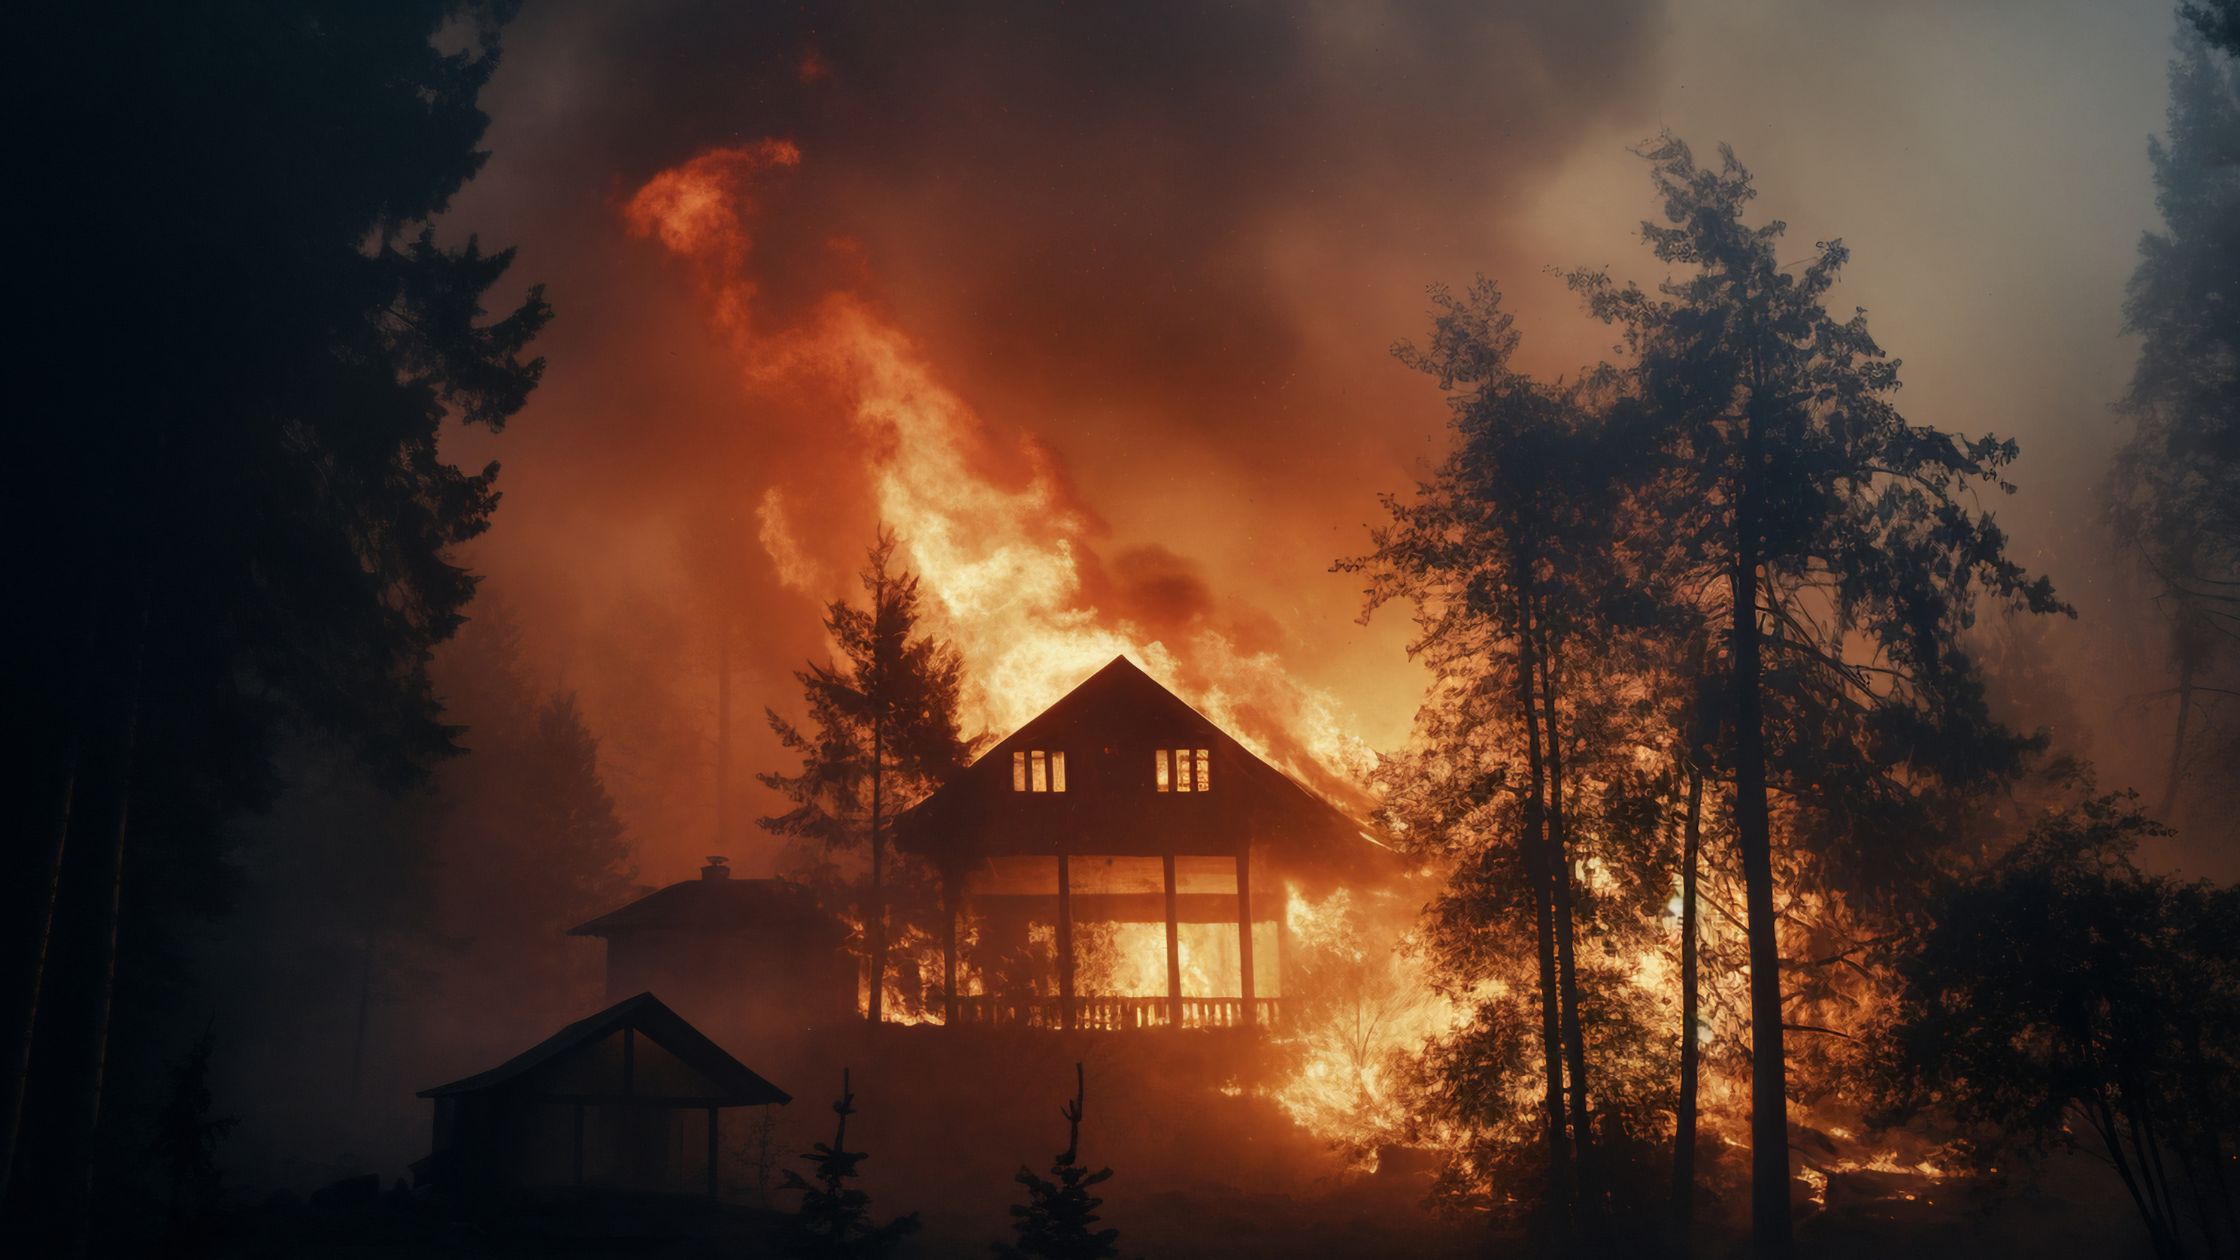
Research from the Insurance Institute for Business and Home Safety (IBHS) shows that approximately 90 percent of home ignitions during wildfires are caused by embers, not direct flame contact. Those embers travel a mile or more ahead of the fire front, carried by Santa Ana winds that regularly blast through San Diego and Los Angeles at 60 to 80 miles per hour. And the number one entry point for those embers is your vents and soffits. If your home has unprotected attic vents, open eave soffits, or outdated vent screens, you are leaving the front door open to wildfire ignition.
At Ember Pro, we specialize in fire resistant vent and soffit installation throughout Southern California. This guide covers the vent types, soffit enclosure methods, costs, code requirements, and installation process that every homeowner in the wildland-urban interface needs to understand.
Editor’s note: Your insurance situation depends heavily on your property’s actual fire exposure. Our free risk assessment factors in official CAL FIRE data to show what your risk level actually is — useful context before talking to your carrier.
Why Vents and Soffits Are the Weakest Link
Every home needs ventilation. Attic vents regulate temperature and moisture, soffit vents allow air to flow beneath your roof overhang, and foundation vents keep crawlspaces dry. But during a wildfire, these openings become direct pathways for burning embers to enter your home’s most combustible spaces: the attic, the wall cavities behind soffits, and the crawlspace beneath your floors.
Once an ember passes through an unprotected vent, it lands on dry wood framing, insulation paper backing, or accumulated dust and debris. The fire starts inside your home before flames ever reach the exterior walls. Post-fire assessments consistently show homes that burned from the inside out because embers entered through vents that no one thought to upgrade.
This is why home hardening professionals prioritize vent and soffit upgrades as one of the highest-impact improvements a homeowner can make.
Types of Fire Resistant Vents
Ember-Resistant Mesh Screens
The most straightforward upgrade is replacing standard vent screening with fine metal mesh. California Chapter 7A building code requires a minimum of 1/8-inch corrosion-resistant metal mesh for vents in wildland-urban interface zones. However, IBHS testing demonstrates that 1/16-inch mesh provides significantly better ember blocking performance. Mesh screens are the most affordable option, typically costing $50 to $80 per vent installed, but they do not seal the opening during extreme heat events.
Intumescent Vents
Intumescent vents represent a major advancement in vent protection technology. These vents contain a material that expands when temperatures reach approximately 160 to 200 degrees Fahrenheit, physically sealing the vent opening shut. During normal conditions, they allow full airflow. When a wildfire approaches, they automatically close to block 100 percent of ember entry. Intumescent vents cost $100 to $300 per unit depending on size and brand, but they provide the highest level of protection available.
Brandguard Vents
Brandguard is one of the leading manufacturers of fire-resistant ventilation products. Their vents are specifically engineered for wildfire-prone areas and use a combination of fine mesh and intumescent technology. Brandguard products are tested to ASTM E2886 standards and meet or exceed California Chapter 7A requirements. Ember Pro recommends Brandguard vents for attic and foundation applications where maximum protection is needed.
Vulcan Vents
Vulcan Vents specialize in ember and flame-resistant ventilation products designed for WUI construction. Their product line includes foundation vents, soffit vents, gable vents, and dormer vents, all incorporating intumescent technology. Vulcan products have been tested extensively by IBHS and carry ICC-ES evaluation reports, making them accepted by building inspectors throughout Southern California.
O’Hagin Vents
O’Hagin manufactures low-profile roof vents that integrate with various roofing materials including tile, shake, and composition shingle. Their ember-resistant models incorporate fine mesh screens and are designed to maintain aesthetic consistency with your roofline while meeting Chapter 7A requirements. O’Hagin vents are particularly popular for ridge and off-ridge applications.
Soffit Enclosure Methods
Open eaves, where the roof rafters and underside of the roof deck are exposed beneath the overhang, are extremely vulnerable to ember intrusion. Embers driven by wind can lodge between exposed rafters and ignite the wood framing directly. Enclosing open soffits is one of the most critical home hardening upgrades for older Southern California homes.
Boxing In Open Eaves
Boxing in involves installing solid panels beneath the roof overhang to create an enclosed soffit. The panels are typically 5/8-inch fire-rated plywood, fiber cement board, or non-combustible metal soffit panels. Vented soffit panels with integrated 1/16-inch or 1/8-inch mesh screening allow continued attic ventilation while blocking embers. This method costs $15 to $30 per linear foot of eave, depending on materials and accessibility.
Fire-Rated Soffit Panels
For homes that already have enclosed soffits but use combustible materials like vinyl or thin plywood, upgrading to fire-rated soffit panels is essential. Fiber cement soffit panels from manufacturers like James Hardie provide non-combustible enclosure with a Class A fire rating. Metal soffit panels offer similar protection and are available in vented configurations. Ember Pro installs fire-rated soffit panels as part of our comprehensive vent and soffit upgrade packages.
Not sure which step to prioritize first? Our wildfire risk calculator shows your CAL FIRE zone and exposure level — so you know exactly where to start.
Installation Process Step by Step
- Full Vent Inventory: We inspect every vent on and around the home, including ridge vents, gable vents, soffit vents, foundation vents, dryer vents, and roof-mounted vents. Many homeowners are surprised by how many vent openings their home has.
- Risk Assessment: Each vent is evaluated for current condition, mesh size, material type, and exposure to prevailing winds. Vents facing the direction of likely fire approach receive highest priority.
- Product Selection: Based on the assessment, we recommend the appropriate product for each location. High-exposure attic vents may get intumescent Brandguard or Vulcan units, while lower-risk locations may need only mesh upgrades.
- Removal and Preparation: Old vent covers and screens are removed. The vent framing is inspected for rot or damage and repaired if necessary. The opening is measured precisely for the replacement product.
- Installation: New vents are installed with corrosion-resistant fasteners and sealed at all edges with fire-rated caulk to prevent gaps. Soffit enclosure panels are cut, fitted, and secured to the rafter tails or subfascia.
- Quality Inspection: Every installed vent is checked from both interior and exterior sides for gaps, proper seating, and secure fastening. We photograph each installation for your documentation records.
Costs for Vent and Soffit Upgrades
Individual vent replacement costs range from $50 to $300 per vent depending on the product type, vent size, and installation complexity. Standard mesh screen retrofits fall at the lower end. Intumescent vents from Brandguard or Vulcan fall at the higher end. Roof-level installations carry additional labor costs due to access requirements and safety equipment.
For a typical Southern California home with 15 to 30 vent openings, a whole-house vent upgrade costs between $2,000 and $8,000 including materials and professional installation. Soffit enclosure adds $2,000 to $5,000 depending on the linear footage of open eaves. While these costs are meaningful, they represent a fraction of the cost of rebuilding after a fire or the premium increases that come with inadequate wildfire insurance coverage.
Chapter 7A Requirements for Vents in WUI Zones
California Building Code Chapter 7A establishes minimum standards for vent construction in fire hazard severity zones. All vents must have corrosion-resistant metal mesh no larger than 1/8 inch. Vents must be designed to resist ember and flame intrusion. Attic ventilation openings in eave soffits must not face downward unless protected by baffles. These requirements apply to all new construction and to any vent replacement during renovation or repair.
Meeting building code compliance is not optional for homes in WUI zones. Ember Pro ensures that every vent and soffit installation meets or exceeds Chapter 7A standards, and we provide the documentation you need for permit sign-off and insurance verification.
Vent Locations Homeowners Commonly Miss
- Ridge vents running along the roof peak are often overlooked because they are not visible from ground level
- Gable vents high on end walls may have original 1/4-inch screening that predates modern codes
- Dryer vents with plastic or aluminum flapper covers that melt under radiant heat
- Foundation vents hidden behind landscaping or deck structures
- Bathroom and kitchen exhaust vents with lightweight plastic covers
- Garage vents that homeowners assume are not connected to the living space
Missing even one unprotected vent can undermine your entire hardening effort. Ember Pro conducts a complete inventory of every vent on your property as part of our assessment process.
DIY vs Professional Installation
Simple mesh screen retrofits on accessible ground-level vents are manageable as a DIY project. You need tin snips, corrosion-resistant screws, and the correct mesh material. However, professional installation is strongly recommended for intumescent vent replacement, any roof-level work, soffit enclosure projects, and situations where code compliance documentation is needed for insurance or permit purposes. Professional installers ensure proper product selection, gap-free installation, and the documentation that proves your home meets current standards.
Insurance Impact of Vent Upgrades
Documented vent and soffit upgrades can meaningfully impact your homeowners insurance situation. Many carriers include vent condition on their wildfire risk checklists, and homes with documented fire-resistant vents may qualify for premium reductions or avoid non-renewal. Before-and-after photographs, product specifications, and professional installation receipts create a compliance record that strengthens your position with insurers. Ember Pro provides a detailed completion report with every installation that is formatted for insurance submission.
Vent upgrades also support broader defensible space and home hardening strategies that insurers evaluate when underwriting wildfire-prone properties. Combined with fire defense systems and regulatory compliance, comprehensive vent hardening demonstrates proactive risk reduction that keeps you insurable.
Why Choose Ember Pro for Vent and Soffit Installation
Ember Pro serves homeowners throughout San Diego and Los Angeles with professional fire-resistant vent and soffit installation. Our team understands Southern California’s unique fire risks, from Santa Ana wind patterns to the specific wildfire laws that apply in each jurisdiction. We handle every step from initial assessment through final documentation, ensuring your home meets Chapter 7A standards and your insurance company has the proof it needs.
Frequently Asked Questions
How many vents does a typical home have?
Most Southern California homes have between 15 and 30 vent openings including attic, foundation, soffit, ridge, gable, and exhaust vents. Many homeowners are unaware of half of them until a professional inventory is conducted.
What is the best vent product for wildfire protection?
Intumescent vents from Brandguard or Vulcan provide the highest level of protection because they physically seal shut during a fire event. For budget-conscious upgrades, 1/16-inch stainless steel mesh provides excellent ember resistance at a lower cost.
Do I need to replace all my vents at once?
While replacing all vents at once provides the most complete protection, you can prioritize by starting with the highest-risk openings: attic vents, gable vents, and any vents facing the direction of likely fire approach. Ember Pro can help you develop a phased upgrade plan.
Will new vents reduce my attic airflow?
Finer mesh does reduce airflow compared to coarser screens. This can be offset by adding supplemental vents or increasing vent opening sizes. Proper ventilation must be maintained to prevent moisture and heat buildup in the attic.
Does California require fire-resistant vents?
Yes. Chapter 7A of the California Building Code requires 1/8-inch or finer corrosion-resistant metal mesh on all vents for new construction and vent replacements in fire hazard severity zones. Local jurisdictions in San Diego and Los Angeles may impose additional requirements.
How long does a whole-house vent upgrade take?
A typical whole-house vent and soffit upgrade takes one to three days depending on the number of vents, accessibility, and whether soffit enclosure work is included. Ember Pro completes most residential projects within two days.
References
- Insurance Institute for Business and Home Safety (IBHS) — Wildfire Research: Ember Intrusion and Vent Vulnerability Studies
- California Building Standards Commission — Title 24, Chapter 7A: Materials and Construction Methods for Exterior Wildfire Exposure
- CAL FIRE — Defensible Space and Home Hardening Guidelines
- ASTM E2886 — Standard Test Method for Evaluating the Ability of Exterior Vents to Resist the Entry of Embers and Direct Flame
- Brandguard Vents — Wildfire Vent Testing and Certification Data
- Vulcan Vents — Technical Specifications for Intumescent Vent Products
- O’Hagin Manufacturing — Roof Vent Product Documentation
- National Fire Protection Association (NFPA) — Firewise USA: Preparing Homes for Wildfire
Related Articles
- Complete Guide to Home Hardening
- Defensible Space and Home Hardening
- California Building Code Compliance
- Wildfire Insurance Coverage Guide
- California Wildfire Laws 2026
- Fire Defense Systems for High Wind Areas
Curious about your property’s actual wildfire risk? Our free calculator shows your CAL FIRE zone, exposure level, and recommended next steps based on your address.
Get your free risk score